Time to participate in september altenew challenge. I have come up with a very creative use of die cuts this time. And don’t forget to read the ‘things learned’ section at the end.

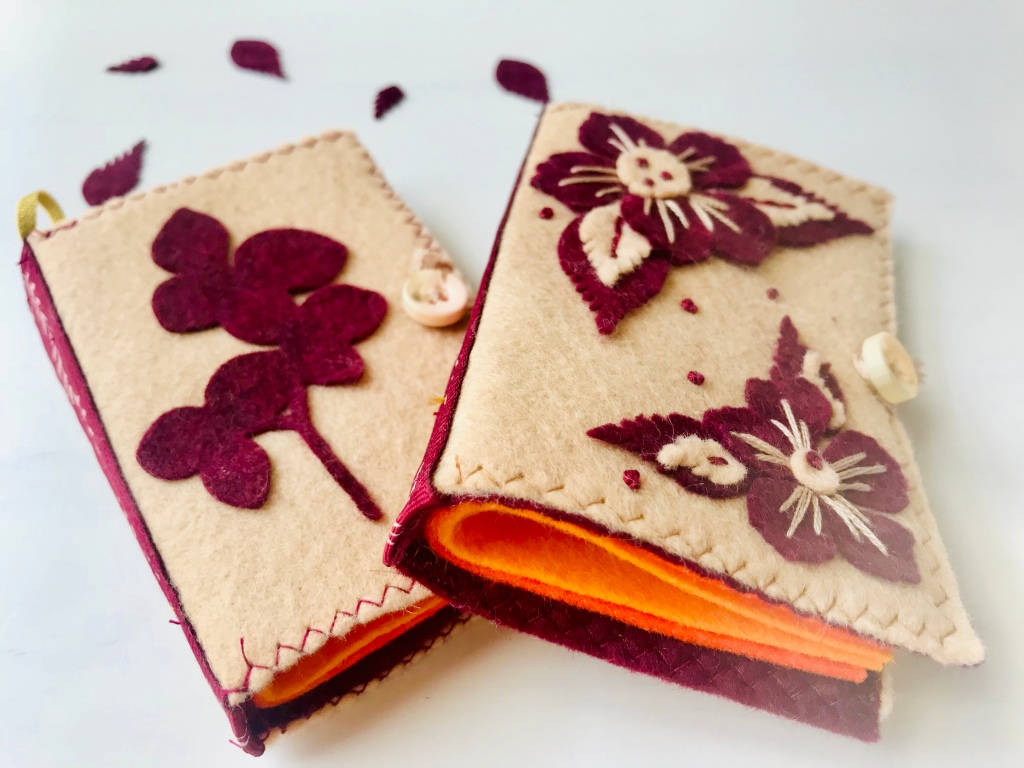
Needle book cover design: I started off with die cutting the dark colored felt with canopy leaves die, polish papercuts die and peony blossom die.
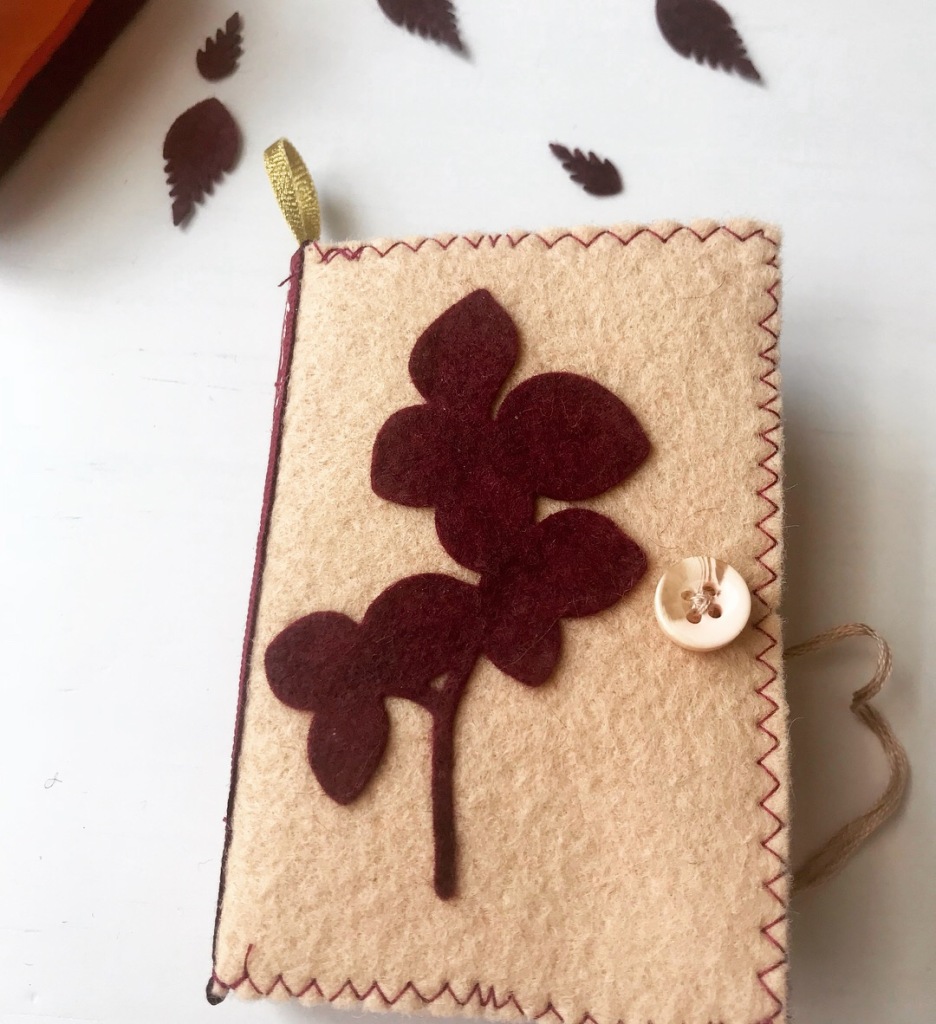
For above cover, I just glued the canopy die cut to top felt sheet with fabric glue. I couldn’t find a way to stitch the details. I tried but was not good.
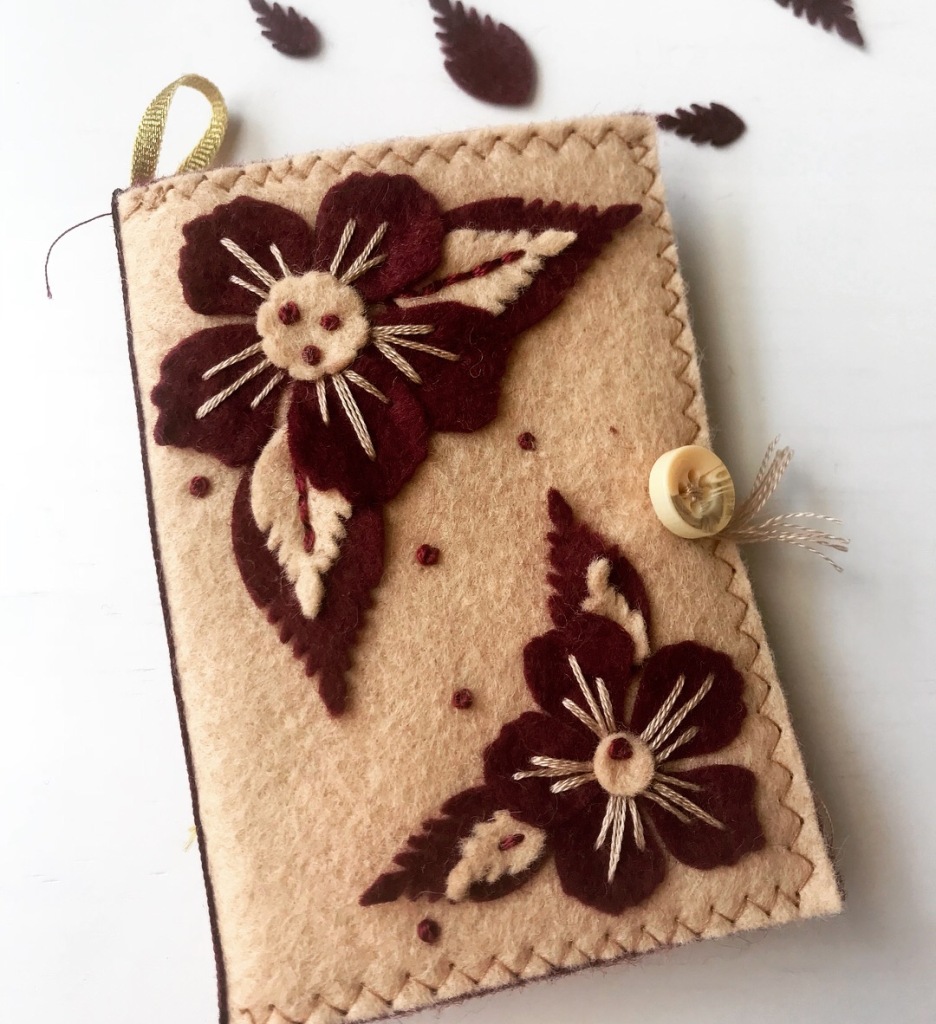
For the above cover, I glued the die cuts to top felt sheer with little glue to keep them in place and stitched the details. Basic back stitch on leaves with 4 strands of thread and a long stitch on petals with 3 strands of thread. I added French knots in the middle of the flower and also spread the knots randomly to fill the book cover.

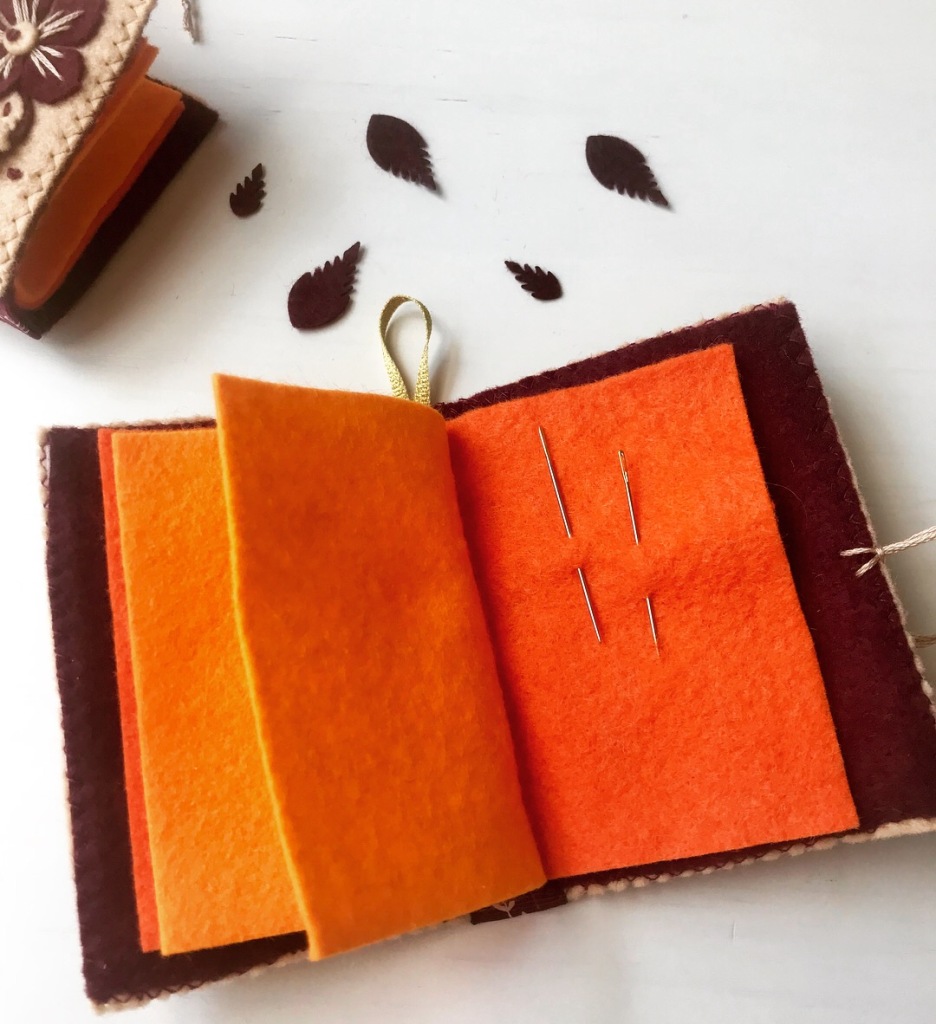
Needle book: For step to step instructions, consider getting pattern from Larissa Holland(linked below). It’s the perfect needle book pattern I have found online.
I used 4 pieces of colored felt in total and a piece of heavy weight stabilizer and sew it together with overcast stitch for borders. Spine has a gross grain ribbon to give strength. The button is a spare one from old clothes. It matched perfectly so used it.
I love how they came out and I hope you enjoyed the needle books. You can even make regular book covers with felt die cuts in a similar way. I can’t wait to try that.
Things learned:
- Choose solid die cuts so they can be easily used as appliqué and they don’t tear down.
- Use glue very sparing]y else difficult to sew through.
- sew the back stitch with longer length than usual since this is felt.
- use a stabilizer or heavy weight non woven interfacing so neeedles won’t poke through.
- Needle pullers with be a great help but not necessary.
Supplies :

You are so creative! 🙂
LikeLike
Amazing creation!! Love this! Thanks so much for playing Altenew September Inspiration Challenge! FABULOUS!
LikeLike
Pingback: September 2019 Inspiration Challenge Winners - Altenew Blog